Pages

Sunday, October 9, 2011

Sparda-DMC/MvC3

After my girlfriend planted the idea of doing a Marvel vs Capcom 3 group for this years AWA, and determining that we would be going as Dante and Trish the task of making props fell on me since she was handling the costumes.
While Sparda changes very slightly in each of the games that it's shown in there are very few quality reference pictures so the most well know of the bunch was chosen as the base to work from.


Since I don't have access to a large enough printer to create full scale blue prints I went free hand and sketched out a rough drawing of the profile on some scrap plywood.


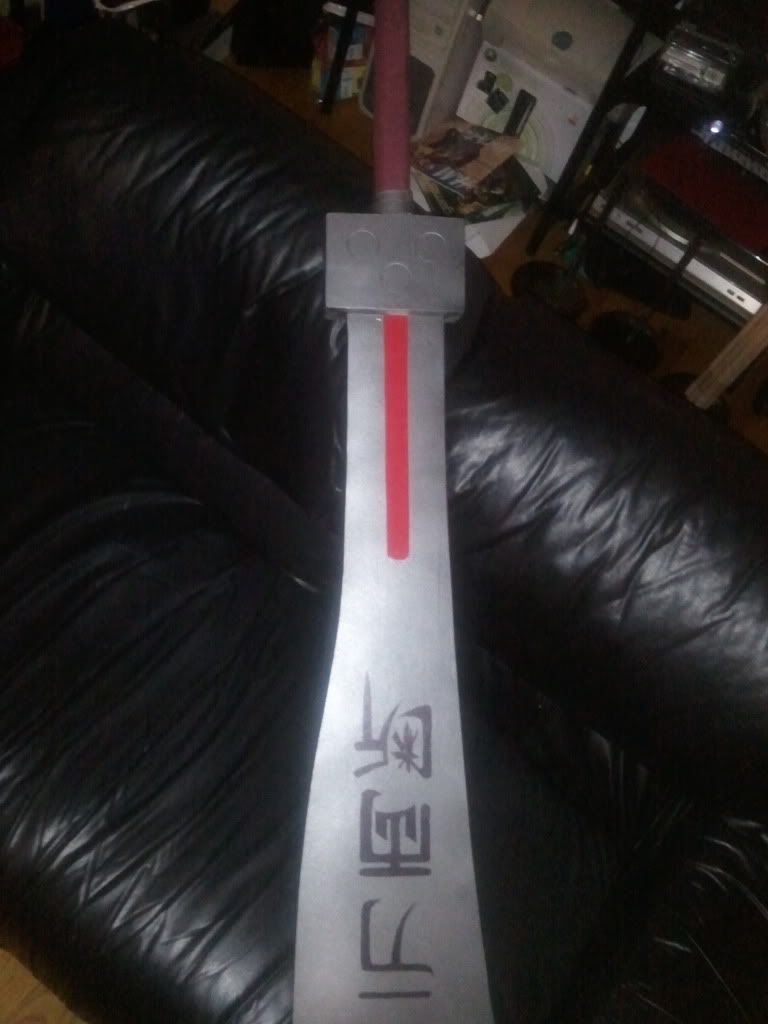
Unfortunately, though a bit expected the thin wood wasn't strong enough to support the weight and this template ended up snapping at the hilt. From there I redrew and cut another profile from a thicker 1x12 board and quickly shaped an edge on the belt sander.


Here's a height comparison with my girlfriend, Stephanie/Pink_Panda, holding the new profile and my nearly complete Rebellion.


From here I drew out where I would be adding foam to build up the fleshy accents and other parts of the sword.


Blue insulation foam was cut to shape for the large fleshy side pieces, Great Stuff expanding foam spray was used to build a basic shape for the spine of the blade. The expanding foam was then carved to a more bone like shape with a razor knife.


Several layers of Durhams Rock Hard Putty, a water based putty was then added to cover the expanding foam in order to both seal and give it a more bone like texture. Something that is very difficult to simulate with paint.


After a bit of sanding I had something like this.


After drawing out some accent marks in the "juicy bits" I grabbed some sandpaper and 'carved' in the designs. Insulation foam sands very easily, this is one of the main benefits to working with it.


The other side of the hilt guard was then cut from some scrap that was left over from the blade profile and then sandwiched between two more hilt guard profiles. The profiles were then carved with a dremel router to add more detail.


Two small hilt profiles were added and shaped with a power sander to help round out the hilt. A small pvc ring was added to the end of hilt to create more detail and provide a junction for the skull pommel to attach to.


Several plastic skulls from a Halloween store were cut and glued around a small diameter pvc pipe. Though time constraints didn't allow for pictures, the spike and hook that extend from the top of the skulls was cut and shaped from more insulation foam. It was covered with Bondo to add strength and to help smooth it out for painting.


A quick set of primer coats were sprayed over the sword and then the "juicy bits" were painted using various mixes of acrylic paints. The red gems were cast with Quick Water instead of resin because at the time I wasn't able to find a small enough quantity of clear resin. The basic effect was the same, and Quick Water can be dyed with food coloring which I happened to have some red lying around.

The blade was given a couple more coats of primer after I realized how much of the wood grain was still showing through. Primer, sand, primer, sand, ect.... The usual deal with blade finishing.


A few shots of the finished blade with my girlfriend in her custom Trish costume outside of the convention center for AWA 17/2011. See more of her great costume work at:

Wednesday, September 7, 2011

Cloud Strife's Hardedge


This is actually almost a year old now, but it was what started it all and as such I thought it appropriate to make it the first prop entry. After my girlfriend had gotten me to take the final leap going to AWA 2010 in costume, I was hooked. I also purchased a Buster Sword from another replica prop maker at the same convention which pushed the idea even further. Cloud holds a special place in my heart being the protagonist of one of my favorite games and I really wanted to do him justice when I eventually do the costume. One of the ways I thought to do so is to recreate each one of his iconic weapons in the order that he acquires them in the game, and since I already had a Buster Sword this was the next in line.

The sword is an extremely simple design. The initial profile was cut from a single 1x10" board that I had lying around, then two additional profiles of the square guard were cut from the same board and sandwiched around the full profile. Unfortunately I didn't have the mindset to take progress photos at each step, but  the result of the above work can be seen here with a size comparison to the Buster Sword.


Hardedge is 49.5" from end of hilt to tip of the blade. The blade is .5" wide, the hilt guard is 1.5" wide. Size was determined by scaling the Play Arts Hard Edge and Play Arts Cloud action figure with the known height of Cloud.


The small rings at the base of the hilt were cut from two sizes of PVC pipes. The 'Materia Slots' were made with a hole saw and a drill press, they are approximately 1/8" deep. "Hammered" Gunmetal Grey paint with silver air-brush dusting is was applied then the center strip was masked off and painted red.


Ittoouroudan: "Cutting in two with a single stroke"
That's the best translation I've been able to find for the Kanji on Cloud's iconic sword. Drawn out by my girlfriend who has a much steadier hand than I, then painted basic black. She also pointed out that it needed to be mirrored on the back side so it would still read correctly, something that I had forgotten about.


After adding two half round dowels the hilt was wrapped in maroon gauze.


A couple shots of the finished sword.


And a quick shot to show how much of a FFVII nerd I am. I snagged that well worn, but ridiculously awesome, T-shirt way back when, on September 7th 1997 as a reserve item from Funcoland. A fan since day one.

Thursday, August 18, 2011

Productive Day...

Recently talked over the prospect of 'props for profit' and came to a conclusion that with a couple people involved and a little luck with finding that niche'.
Idea right now is to build up a portfolio of work and skills, which I was planning on slowly doing with this blog anyway, now I have help. Not only that, but I have help from someone who has a few skill sets that I don't have.

Started about 9am, called it a day about 5pm. All in all about 3-4 hours of actual working time and we end up with a new template, a new sword, and parts for a new hammer glued and left to dry.

Not gonna say what the first two projects are just yet, though fans on the Facebook page can get a preview spoiler, but fans of BLEACH and Marvel might want to tune in next time for the next exciting episode of Dra.... 2DLogic Props!


Friday, August 5, 2011

First Post!

My first post on a new blog. Lately I've gotten into building replica props as a result of my girlfriend getting me to take the final leap on cosplay at last year's Anime Weekend Atlanta convention. The blog is created in a similar vein to that of Blind Squirrel and Volpin's blogs, partially to pay a bit of homage to two amazing prop builders who have inspired me and given me ideas on several builds already, and partially because it's an efficient design.

Right now this is just a labor of love. I will be posting work journals, templates, etc for the various props that I make for myself and my friends to hopefully give those who are interested in this kind of thing a little of the inspiration that I've gotten from other people's blogs. Who knows, if this project is well received this could turn into a commission business at some point.